

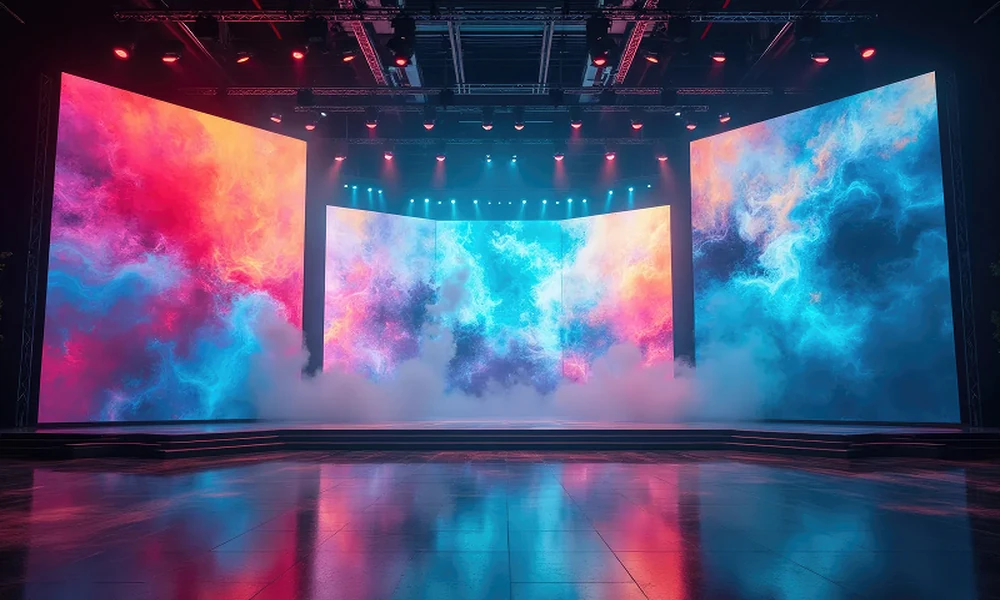
Planning a successful conference, gala dinner, or product launch requires meticulous attention to detail, especially when designing focal visual elements. The main stage backdrop serves as the central visual anchor for keynote speakers, photography, and live video streaming. Few things disrupt a professional event faster than a blurry logo, awkward crop lines, or distorted brand colours magnified across a massive display wall. Whether you wrap a wooden frame with seamless fabric or mount graphics onto rigid boards, getting your digital artwork files right before production remains critical. Verifying key technical parameters for stage backdrop printing guarantees a polished presentation that commands attention and elevates your brand image.
Resolution Matters: Balancing File Size and Viewing Distance
Digital design files that look crisp on a standard laptop screen often lose clarity when stretched across a six-metre stage structure. Understanding how image resolution translates to physical dimensions prevents pixelation and embarrassing visual blurriness.
While standard commercial printing requires 300 dots per inch (DPI) at a 1:1 scale, massive display graphics operate under different rules due to viewing distance constraints. For close-range photography backdrops, aim for 150 DPI at actual size to ensure razor-sharp details for camera lenses. For larger stage structures viewed from several metres away in an auditorium, 75 to 100 DPI at full scale provides exceptional clarity without creating unmanageable file sizes. If your design software struggles with massive file sizes, build your artwork at a 1:10 scale at 300 DPI, making sure to indicate the scale ratio clearly to your print team.
Colour Accuracy: Navigating CMYK Profiles and Venue Lighting
Disappointing colour mismatches usually occur when designers submit digital files created in RGB (Red, Green, Blue) mode rather than CMYK (Cyan, Magenta, Yellow, Key Black) mode.
Computer monitors emit light in RGB, displaying vibrant neon shades that physical ink combinations simply cannot replicate. Converting your artwork to a standard CMYK colour profile before finalising the file ensures you preview realistic print output accurately. Furthermore, specify corporate brand colours using Pantone Matching System (PMS) codes rather than relying on on-screen visual estimates. Keep in mind that intense stage lighting and warm spotlights alter colour perception during live presentations, making accurate CMYK colour balancing even more crucial for stage backdrop printing projects.
Bleed, Trim, and Safe Zones: Preventing Critical Design Truncation
A common error during artwork setup involves placing vital logos or text elements too close to the physical edge of the board or fabric panel.
| Technical Parameter | Recommended Allowance | Primary Purpose & Production Function |
| Bleed Margin | 50mm to 100mm beyond trim line | Extends background artwork beyond cut lines to avoid unsightly white borders during trimming. |
| Safe Zone Margin | 100mm to 150mm inside trim line | Keeps essential logos, sponsor details, and text safely away from edges, folds, or mounting frames. |
| Panel Seam Clearance | 100mm clear of vertical joins | Prevents critical typography or fine graphics from splitting across multi-panel sticker seams. |
| Bottom Stage Cutoff | 300mm to 500mm bottom clearance | Prevents stage furniture, podiums, or speakers from obscuring key event titles and sponsor logos. |
Establishing clear safety margins guarantees that hardware assembly, wrapping, and mounting do not clip or hide your core event branding.
Vector vs. Raster Graphics: Ensuring Infinite Scalability
Understanding the fundamental difference between vector and raster graphics saves precious time when preparing large-scale event artwork for production.
Raster images (such as JPEGs or PNGs) consist of fixed pixel grids. Expanding a small raster image to fit a full-stage graphic stretches those pixels, producing fuzzy edges and visible grain. Conversely, vector graphics (created in programs like Adobe Illustrator) rely on mathematical formulas, allowing you to scale logos, typography, and geometric shapes to any size without losing a fraction of sharpness. Always export text as vector outlines and embed high-resolution links before sending files for l arge-format sticker printing. Combining vector text with high-resolution imagery produces a crisp, high-impact finish that impresses guests and photographers alike.
Utilizing specialized large-format sticker printing techniques for your backdrop graphics guarantees vibrant ink adhesion, smooth finishes, and flawless presentation throughout your entire event.
Bringing It All Together: Setting the Stage for Success
Delivering an extraordinary stage display requires verifying file resolution, converting artwork to CMYK colour spaces, setting generous bleed and safe margins, and utilising vector assets. Checking these technical specifications early eliminates costly production delays, ensuring your stage backdrop looks flawless under the spotlight.
Frequently Asked Questions
What file format is best for sending stage backdrop artwork to a printer?
Print-ready vector PDF or EPS files with all fonts converted to outlines and images embedded offer the highest reliability and compatibility across commercial production equipment.
Why do I need a bleed margin on large stage graphics?
A bleed margin extends your background design beyond the final cut line, ensuring that minor variations during manual trimming or frame wrapping do not leave exposed white edges.
Can I use images taken on a smartphone for a stage backdrop?
Smartphone photos generally lack the resolution and pixel density needed for massive displays. Use high-resolution stock photography or professional DSLR images shot at RAW settings instead.
Contact My First Sign to transform your corporate events, award shows, and stage setups with precision-printed graphics that make a lasting impression.
